
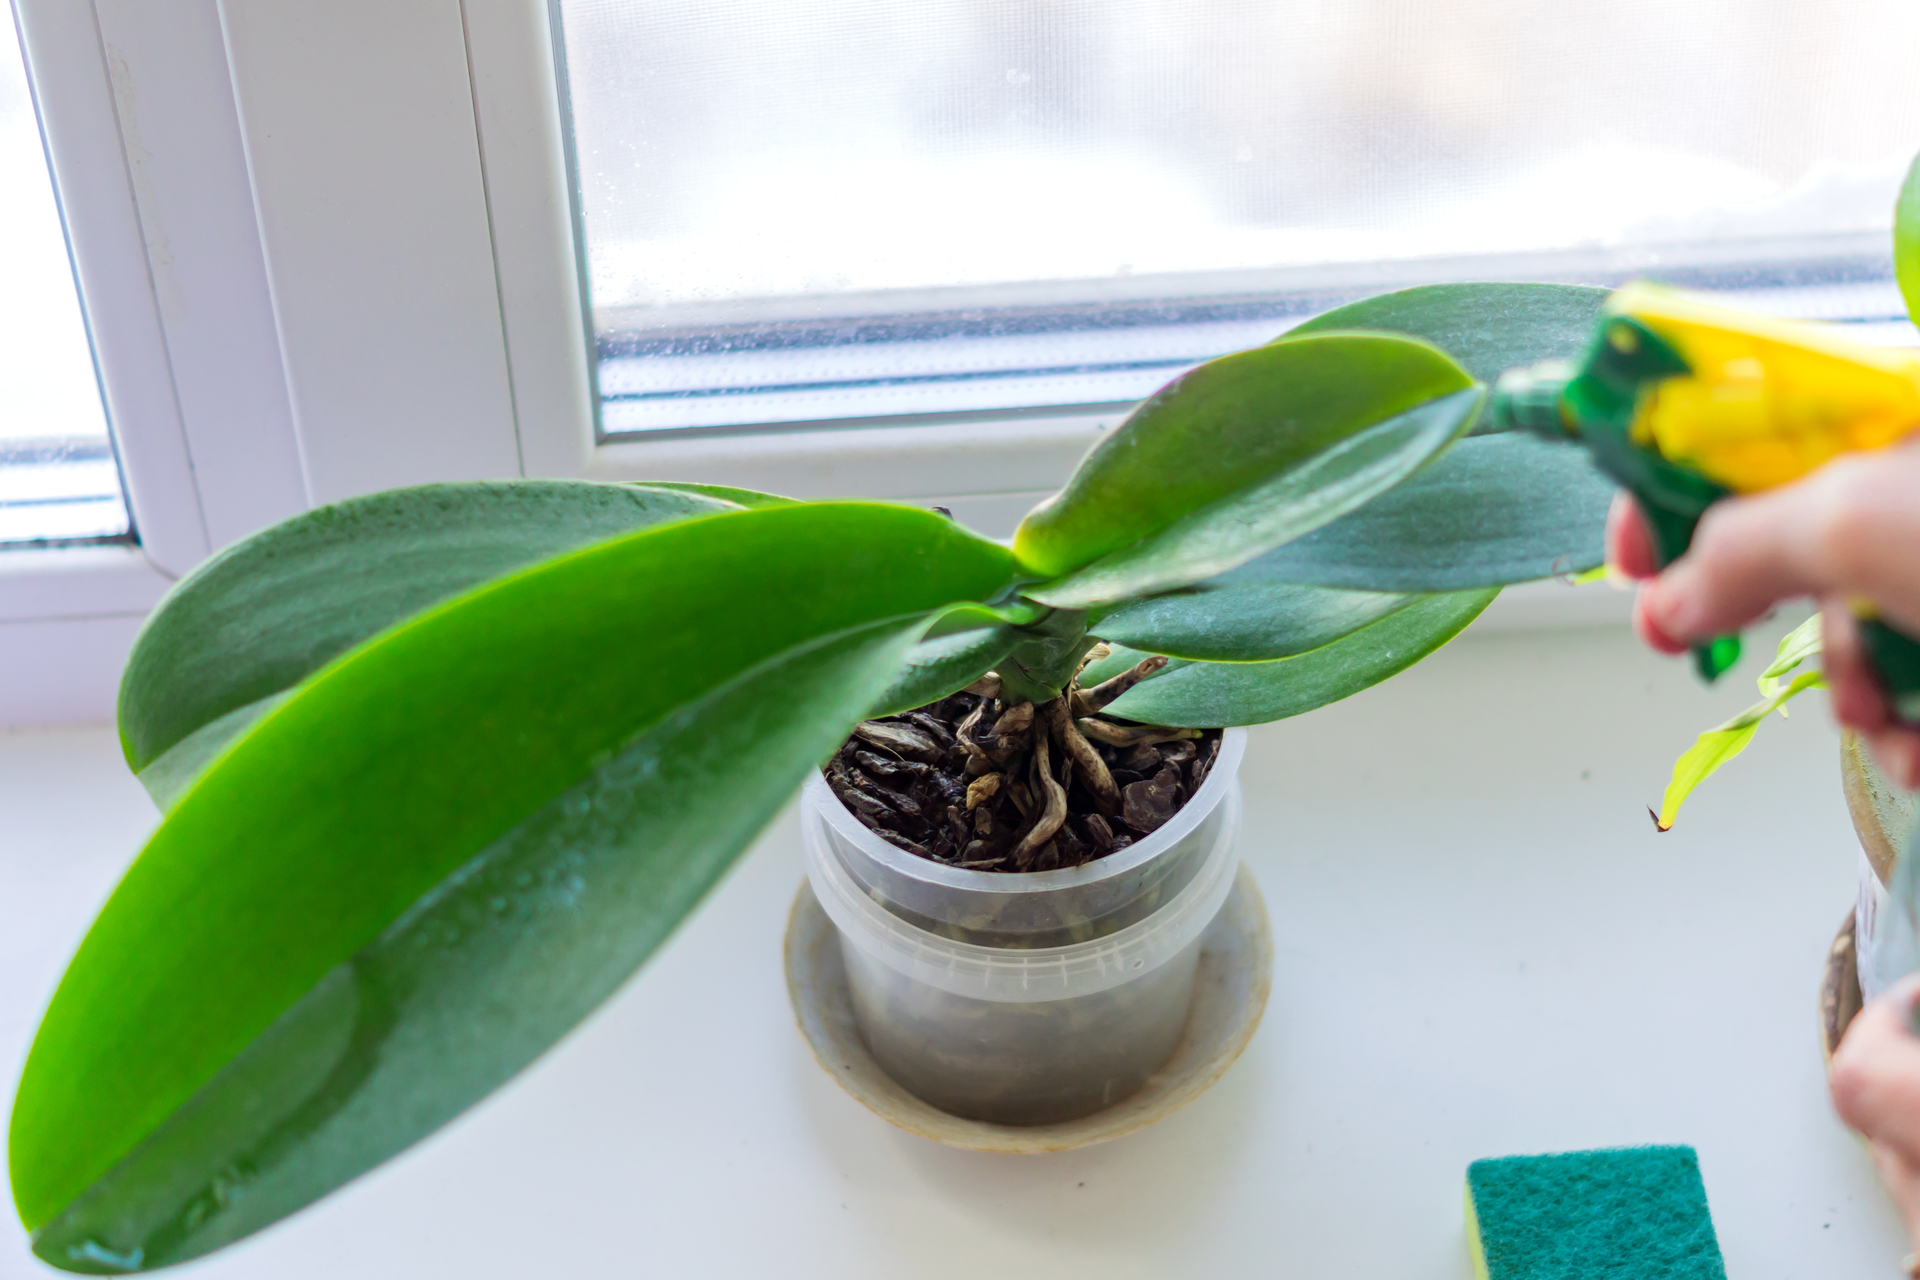
Seeing a yellow leaf on an orchid can be surprisingly worrying.
Orchids have a reputation for being delicate, so when a leaf that was green a few weeks ago begins fading to pale green, yellow, or even yellow-brown, it is easy to assume the entire plant is dying.
Fortunately, a yellow orchid leaf does not automatically mean something is wrong.
Sometimes an older leaf is simply reaching the end of its natural life. At other times, yellowing is the first visible clue that the roots have remained wet for too long, the plant is receiving more direct sun than it can comfortably handle, the potting material has started breaking down, or environmental conditions have changed.
The important part is not simply noticing that the leaf is yellow.
It is noticing which leaf is yellow, how quickly the color changed, what the roots look like, how the leaf feels, and what happened to the plant recently.
Those details can tell you far more than the yellow color itself.
If you are wondering, “Why are my orchid leaves turning yellow?”, use this guide as a diagnosis rather than immediately changing everything about your orchid’s care.
First: Is One Yellow Orchid Leaf Actually Normal?
Before reaching for fertilizer, repotting supplies, or the watering can, look at where the yellow leaf is located.
If your orchid is otherwise healthy and one of the oldest bottom leaves is gradually turning an even, clean yellow, the plant may simply be retiring that leaf.
This is particularly common with Phalaenopsis orchids, the type commonly sold as indoor flowering orchids.
Older leaves do not remain attached forever. As the orchid continues growing, a lower leaf may gradually lose its green color before eventually separating from the plant.
What matters is the pattern.
A single lower leaf slowly turning yellow while newer leaves remain firm and green is very different from three or four leaves yellowing together.
Usually normal
- One old bottom leaf
- Gradual yellowing
- Yellow color is fairly even
- Remaining leaves look healthy
- Roots still appear firm
- Plant continues producing healthy growth
More concerning
- Several leaves yellow at once
- A young or central leaf turns yellow
- Leaves become soft or mushy
- Yellow areas develop brown or black patches
- Roots are dark and soft
- The crown feels soft
- Yellowing happens shortly after a major environmental change
That distinction alone can prevent one of the biggest orchid-care mistakes: trying to “fix” a naturally aging leaf by watering or fertilizing the plant more heavily.
1. Natural Aging of an Older Orchid Leaf
Natural leaf aging is the first possibility to consider because it requires almost no intervention.
An orchid has limited resources. Older leaves that have already supported the plant for a long time eventually become less valuable than newer growth.
You may notice the lowest leaf slowly fading from green to yellow.
The process may take days or weeks rather than happening overnight.
The rest of the orchid usually looks completely normal.
The yellowing leaf may eventually become loose enough to detach with very little force.
What should you do?
Usually, very little.
Allow the leaf to finish yellowing instead of cutting away a partially green leaf immediately.
If it eventually separates easily, remove it gently.
More importantly, examine the rest of the plant.
If every other leaf looks healthy and the roots look good, changing your watering schedule or repotting the orchid simply because of one old yellow leaf may create a problem that was not there before.
Quick diagnosis
One lowest leaf + gradual even yellowing + healthy roots = often normal aging.

2. Overwatering and Root Damage
Now we come to one of the most important causes.
When several orchid leaves begin yellowing, particularly when the plant also looks weak or soft, you need to examine what is happening below the surface.
An orchid can appear dry at the top of its pot while moisture remains trapped around its roots.
This becomes particularly likely when the plant is growing in old, compacted material or inside a decorative outer container that does not allow excess water to escape easily.
Healthy orchid roots need both moisture and air.
Keeping the root zone constantly saturated can interfere with that balance.
As roots deteriorate, the orchid loses part of its ability to absorb water efficiently. The confusing result is that a plant sitting in wet material can eventually behave like a dehydrated plant because damaged roots are no longer functioning properly.
Yellow leaves may be one of the visible symptoms.
Check the roots before watering again
If your orchid is in a transparent pot, inspect it from the outside.
Healthy roots vary somewhat depending on the species and whether they are wet or dry, but you are generally looking for roots that feel firm rather than collapsed and mushy.
Potential warning signs include:
- Dark mushy roots
- Hollow or collapsing roots
- Unpleasant-smelling potting material
- Potting mix that remains wet for a very long time
- Yellow leaves combined with general weakness
- A plant that seems dehydrated despite frequent watering
If you find those signs, increasing the amount of water is unlikely to solve the problem.
What should you do?
Allow the root environment to approach the appropriate level of dryness for your orchid before watering again.
Make sure the pot can drain freely.
If significant root deterioration is already present, inspect the root system and consider repotting into fresh orchid-appropriate material rather than leaving the plant inside decomposed, waterlogged media.
Do not use a rigid watering schedule such as “every Sunday.”
Conditions change with temperature, light, pot size, growing material, airflow, and season.
Your orchid’s roots and potting material should help determine when it needs water.
3. The Potting Mix Has Broken Down
This problem is closely related to overwatering, but it deserves its own section because sometimes the owner has not dramatically changed their watering habits at all.
The problem is the material around the roots.
Many orchids are grown in chunky bark-based mixes rather than ordinary houseplant soil because their roots need substantial airflow.
Over time, bark and other organic components break down.
The spaces between pieces become smaller. The material becomes more compact. Water can remain around the roots longer than it did when the mix was fresh.
That means the watering routine that worked perfectly before may gradually become too wet for the same orchid.
This is one reason an orchid can appear healthy for a long time and then suddenly begin struggling even though its owner insists:
“I haven’t changed anything.”
Exactly.
Sometimes the pot changed internally even though your routine did not.
Signs the potting material may be too old
- Bark has become tiny and soil-like
- Material feels compact rather than chunky
- Water takes longer to drain
- Pot stays damp noticeably longer
- Roots near the center of the pot deteriorate
- Leaves begin yellowing without an obvious above-ground cause
What should you do?
Examine the growing medium.
If it has lost the open, airy structure appropriate for your orchid, fresh material may be needed.
Repotting is not about giving the orchid the biggest possible container. It is about restoring a healthier root environment.

4. Too Much Direct Sunlight
Orchids need light, but “orchids need bright light” can easily be misunderstood as “put the orchid in intense direct sun.”
Those are not necessarily the same thing.
A plant can sit happily near a window during one part of the year and then experience much stronger sunlight as the season and sun angle change.
Leaves exposed to excessive light or heat may become unusually pale, yellow-green, bleached, or eventually develop damaged brown areas.
This type of yellowing often looks different from the rich, even yellow of an old lower leaf.
Look for these clues
- Yellowing is strongest on the side facing the window
- Leaf feels unusually warm during strong sun
- Color has become pale yellow-green rather than healthy green
- Bleached areas or brown damaged patches appear
- Orchid was recently moved closer to a sunny window
What should you do?
Move the orchid away from harsh direct exposure rather than moving it into a dark room.
For many commonly grown indoor orchids, bright filtered light is safer than strong midday or afternoon sun directly hitting the leaves.
A sheer curtain can sometimes reduce harsh exposure while keeping the location bright.
Do not expect a badly damaged portion of a leaf to become perfectly green again.
The goal is to correct the growing condition so new damage stops appearing and future growth develops normally.
5. The Orchid Is Too Cold
Yellow leaves are not always caused by water.
Temperature can matter too.
Some commonly grown tropical orchids respond poorly to temperatures far outside the range they are adapted to.
A plant placed close to a cold window, air-conditioning vent, exterior door, or sudden draft may experience conditions very different from the average temperature elsewhere in the room.
Temperature problems become especially easy to miss because the room itself may feel comfortable to you.
The small environment surrounding the orchid may not be.
Ask yourself:
- Did the yellowing begin after a cold night?
- Is the orchid touching cold window glass?
- Is it directly below an air-conditioning vent?
- Was it recently transported during cold weather?
- Did you move it to a different room?
Some orchids naturally have different seasonal behaviors, so knowing which type of orchid you own is useful.
Do not assume every orchid wants exactly the same temperature all year.
What should you do?
Move the plant away from severe drafts and temperature extremes.
Avoid responding to cold stress by automatically giving extra water. A stressed plant may actually use water more slowly.
6. Underwatering or Severe Dehydration
Overwatering receives a lot of attention in orchid care, but the opposite problem can happen too.
If an orchid remains too dry for too long, especially when temperatures are warm or humidity is low, leaves may lose firmness and older foliage may eventually yellow.
The challenge is that underwatering and root rot can sometimes create similar above-ground symptoms.
Why?
Because both can leave the plant short of usable water.
With underwatering, water simply is not being supplied often enough.
With severe root damage, water may be available in the pot but the damaged roots cannot take it up properly.
That is why the best question is not simply:
“Does my orchid look thirsty?”
The better question is:
“Does my orchid look thirsty, and are its roots healthy enough to drink?”
Signs that support underwatering
- Potting mix dries very quickly
- Roots are generally intact rather than mushy
- Leaves become limp or slightly wrinkled
- Plant has experienced warm, dry conditions
- Watering intervals have become unusually long
What should you do?
Do not suddenly leave the orchid permanently soaked to compensate.
Return to a more appropriate watering rhythm based on the plant, pot, temperature, roots, and growing medium.
A stressed plant generally benefits from consistency more than dramatic correction.
7. Nutrient Problems
Orchids need nutrients just like other plants, but fertilizer problems are often misunderstood.
A yellow orchid is not automatically asking for fertilizer.
That distinction matters.
Yellowing can sometimes be associated with nutrient deficiency, particularly when the color pattern appears across multiple leaves or new growth behaves abnormally.
However, dumping concentrated fertilizer onto an already stressed orchid can damage roots and make matters worse.
Before blaming nutrition, examine:
- Roots
- Watering
- Light
- Temperature
- Age of the affected leaf
- Potting medium
If those areas look reasonable and the plant has received little or no nutrition for a long time, feeding may be part of the picture.
What should you do?
Use an orchid-appropriate balanced fertilizer according to its instructions rather than assuming more fertilizer creates faster recovery.
Orchid roots can be sensitive to excess dissolved salts.
More is not automatically better.
And remember: an old leaf that has already completed most of its life cycle will not necessarily turn green again simply because fertilizer was added.
Judge the improvement through healthy new growth.
8. Pests Feeding on the Leaves
Sometimes yellowing is not uniform at all.
Instead you may see small pale or yellow areas, stippling, sticky residue, unusual bumps, cotton-like material, or discoloration that seems to spread irregularly.
That should prompt a closer inspection.
Do not inspect only the visible top of the leaf.
Turn it over.
Look at:
- Leaf undersides
- Leaf joints
- Flower spikes
- Around the base of leaves
- Pot rim
- Hidden crevices
Some sap-feeding pests can create pale or chlorotic areas by damaging plant tissue while feeding.
A plant that looks generally healthy from several feet away can reveal a completely different story when inspected closely.
What should you do?
First identify the pest.
Different pests require different treatment approaches, so spraying an unknown product blindly is not the ideal first step.
If you have several houseplants, separate the affected orchid while you inspect it so a possible infestation is less likely to spread.
9. Disease, Crown Damage, or a More Serious Problem
The most concerning yellow orchid leaves are generally not the slow, clean yellow leaves associated with natural aging.
Pay closer attention when yellowing appears with:
- Black areas
- Brown spreading lesions
- Soft or water-soaked tissue
- Unpleasant smell
- Mushiness around the crown
- Rapid deterioration
- Multiple leaves declining in a short period
Yellow discoloration accompanied by black, brown, or soft tissue can point to a more serious cultural or disease problem.
If water repeatedly sits in the crown of certain orchids and does not dry adequately, tissue damage and rot can become serious.
Likewise, damaged or unhealthy plant tissue can become vulnerable to secondary problems.
What should you do?
Separate the orchid from other plants while you investigate.
Avoid allowing water to remain trapped in vulnerable areas.
Use clean tools if damaged plant material genuinely needs to be removed.
More importantly, correct the environmental condition that allowed the problem to develop.
Treating a visible damaged spot without addressing constantly wet conditions, poor airflow, or unhealthy roots rarely solves the underlying problem.
Orchid Yellow Leaf Diagnosis Table
| What You See | Most Likely Direction to Check | Urgency |
|---|---|---|
| One lowest leaf slowly turns evenly yellow | Natural aging | Low |
| Several leaves yellow + roots are dark or mushy | Root damage / overwatering | High |
| Yellowing + old compacted bark | Degraded potting mix | Medium–High |
| Pale yellow-green leaf facing strong window | Excessive light / heat | Medium |
| Yellowing after cold exposure | Temperature stress | Medium |
| Limp leaves + healthy but very dry roots | Underwatering | Medium |
| General or unusual chlorosis on newer growth | Nutrition / root availability | Medium |
| Speckled yellow areas + insects or sticky residue | Pest problem | High |
| Yellow + black/brown/mushy tissue | Rot / infection / serious damage | High |
The purpose of this table is not to diagnose your orchid from one symptom alone.
It is to show you where to look next.
Should You Cut Off a Yellow Orchid Leaf?
Not automatically.
If an old bottom leaf is turning yellow naturally, allowing the orchid to finish the process is usually better than cutting away a partially green leaf simply because you dislike its appearance.
If the leaf is badly damaged, diseased, or rotting, the situation is different.
The bigger question is why the leaf yellowed.
Removing a yellow leaf does not fix:
- Rotten roots
- Excessive sunlight
- Bad potting mix
- Pest infestation
- Crown problems
- Watering mistakes
It only removes the visible symptom.
Always diagnose the plant first.
Can a Yellow Orchid Leaf Turn Green Again?
Usually, once a leaf has become strongly yellow because its tissue is aging or significantly damaged, you should not expect it to return completely to its original healthy green condition.
That does not mean the orchid cannot recover.
With plant care, recovery is often better judged by what happens next.
Look for:
- Healthy new roots
- Firm new leaves
- Stable crown
- Fresh growth
- Normal flowering cycle
Saving an orchid is not about making every old damaged leaf look perfect again.
It is about creating conditions in which the plant’s next growth is healthier than its previous growth.
A Simple 5-Minute Yellow-Leaf Check
Before changing your entire orchid routine, do this:
Minute 1 — Locate the yellow leaf
Is it the oldest bottom leaf or a young central leaf?
Minute 2 — Feel the leaf
Is it firm, limp, wrinkled, soft, or mushy?
Minute 3 — Inspect the roots
Are they firm, or are many dark, hollow, or mushy?
Minute 4 — Check the pot
Does the medium look chunky and airy, or broken down and constantly damp?
Minute 5 — Look at the environment
Has the orchid recently experienced stronger sun, colder temperatures, a different location, or a major watering change?
Those five observations will usually tell you far more than simply searching for a universal watering schedule.
The Biggest Mistake to Avoid
The biggest mistake is reacting to every yellow leaf by immediately giving the orchid more water.
Yellow does not mean thirsty.
It means investigate.
If the real problem is root damage from excessive moisture, adding even more water can accelerate the decline.
Similarly, immediately fertilizing a plant whose roots are already compromised does not address the real problem.
The order should be:
Observe → inspect roots → check moisture → check environment → identify the likely cause → make one sensible correction.
Not:
See yellow → panic → water → fertilize → repot → move plant → hope.
Too many changes at once make it almost impossible to understand what the orchid was reacting to in the first place.
How to Reduce Future Yellowing Problems
You cannot prevent every orchid leaf from eventually turning yellow because leaf aging is part of normal plant growth.
You can, however, reduce preventable stress.
Keep the plant in light appropriate for the orchid type you are growing rather than exposing it suddenly to harsh direct sun.
Use a pot and growing medium that allow the roots to breathe.
Allow excess water to drain instead of leaving the orchid standing in water.
Check the roots before assuming every weak-looking plant needs more moisture.
Protect tropical orchids from extreme temperatures.
Inspect leaves regularly, especially underneath them, so pests are easier to catch early.
And perhaps most importantly, learn what your orchid looks like when it is healthy.
Once you understand its normal leaf color, root appearance, pot drying speed, and seasonal behavior, problems become much easier to notice before they become serious.
For broader everyday maintenance, see Orchid Care for Beginners on Mindsouk, which covers watering, light, feeding, pots, and general indoor orchid care.
Final Thoughts
If you are asking why are my orchid leaves turning yellow, resist the urge to diagnose the plant from the color alone.
Start with the location of the yellow leaf.
One older bottom leaf gradually turning yellow may simply be finishing its normal life.
Several yellow leaves, especially when combined with dark or soft roots, deserve much more attention.
Pale foliage near a hot sunny window points you toward light and heat. Sudden changes after cold exposure point toward temperature stress. Sticky leaves or irregular pale markings should send you looking for pests. Yellowing combined with black, brown, or mushy tissue requires faster investigation.
The leaf is giving you information.
Your job is to work out what that information means before changing the plant’s care.


Leave a Reply