
Orchids are stunning, admired by all, and often misunderstood. At first, their delicate petals and unique appearance can make orchids seem like a challenge to care for. But orchids are not hard to care for; they’re just a little different from your typical houseplants.
So, if your once-glorious bloom now looks like a stick in a pot, don’t worry. This is your ultimate guide on how to take care of an orchid plant, maintain its health, and ensure it keeps blooming season after season.
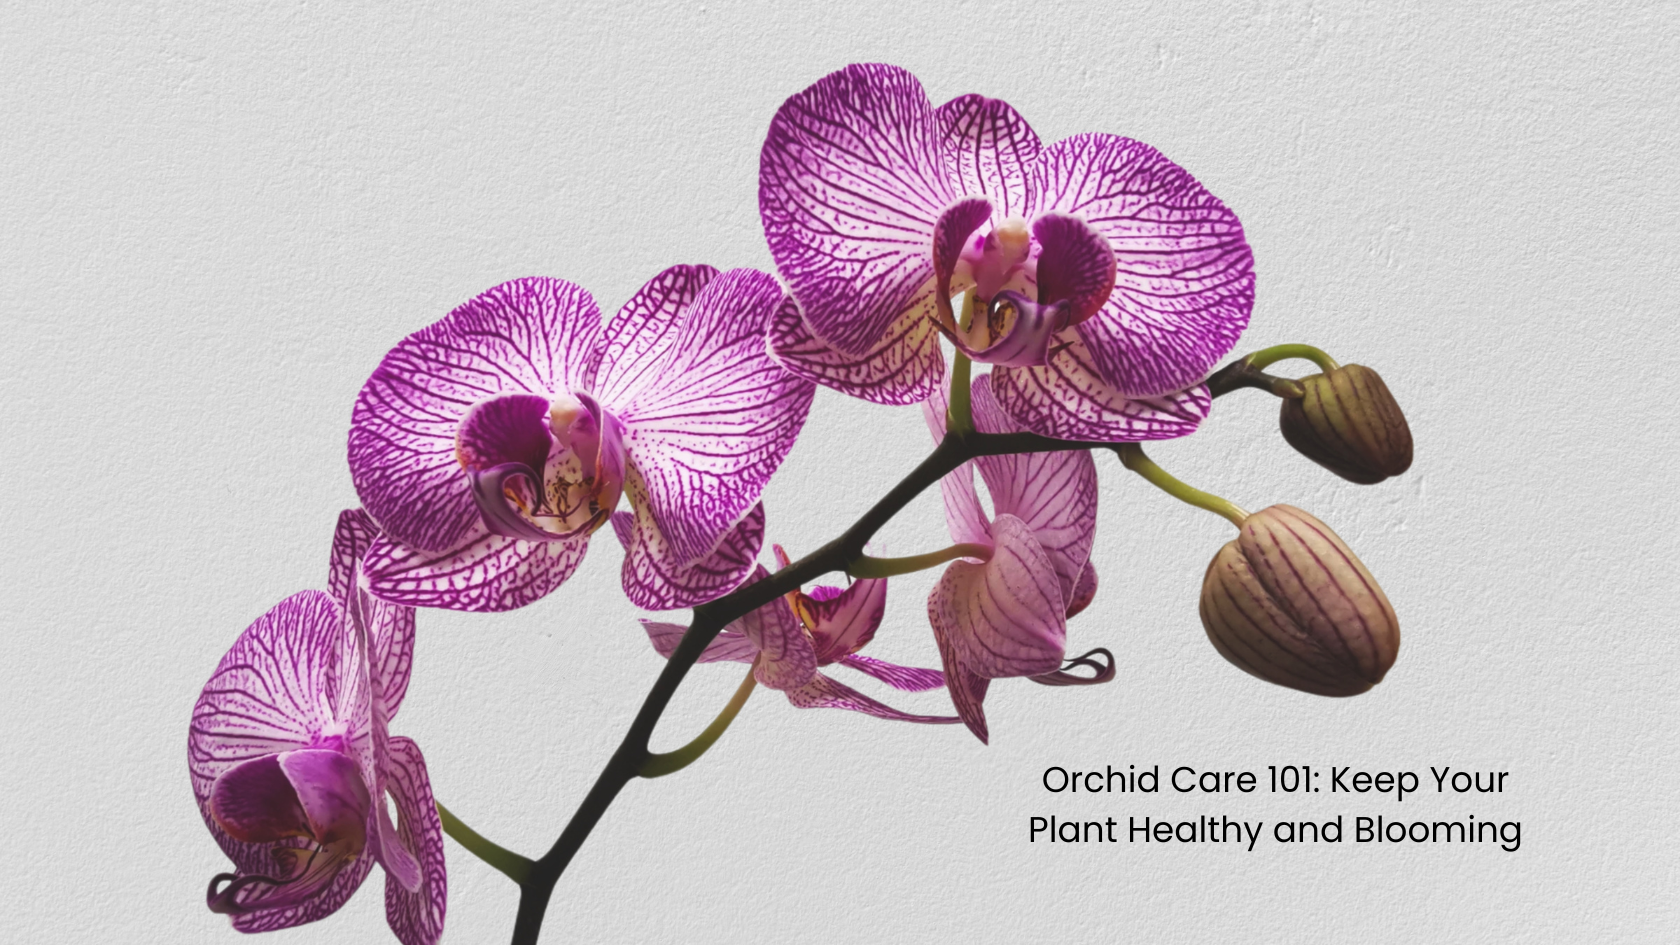
The Role of Light in Healthy Blooms
Light is everything to an orchid. These tropical beauties thrive in bright, indirect light, which means they love the sun, but not the full blast of it.
If you’re wondering how to grow orchids in the house, the answer often starts with where you place them to get enough light.
- Ideal light: Place the orchid plant near an east-facing window where it catches morning light or a south/west-facing window that is filtered through sheer curtains.
- Avoid: Direct harsh sun. It’ll scorch the leaves.
- Watch for clues: Dark green leaves mean a cry for more light. Yellowing or red-tinted leaves mean it’s probably getting too much.

How Do I Take Care of Orchid Plant Watering Needs?
Overwatering kills more orchids than anything else. These plants have delicate roots that need to breathe, not soak. If you want to learn how to grow orchids indoors, you need to master the watering routine.
- Water only when dry. Check the potting mix. If it’s still damp, skip it.
- Root check trick:
- Silver or gray roots mean thirsty.
- Green roots mean it’s still hydrated.
- Water deeply, let it soak the soil well. Let the extra water flow through and drain out completely from the bottom.
- Never let the pot sit in standing water.
- Watering once a week works in rainy and cold conditions. In hot summers, water twice.
How to Raise Orchids Indoors
The orchid’s natural habitat is a tropical jungle with misty air and steady warmth. So, if you’re curious about how to raise orchids indoors, you’ll want to bring a bit of that jungle vibe into your living space.
- Right Humidity and Temperature
Orchids enjoy humidity levels between 40% and 70%. Here’s how you can help them breathe easy:
- Pebble trays: Create a humid environment by placing the orchid above water on a bed of pebbles, never directly in the water. Evaporation adds moisture.
- Misting: Spray a little water on the leaves in the morning, especially in a dry environment.
- Humidifier: A small, dedicated humidifier nearby does wonders in dry rooms.
- Temperature: Keep it comfy and consistent. The ideal range is 60–85°F (15–30°C). Avoid placing orchids near:
- Heating vents
- Air conditioners
- Drafty windows
- Proper Soil and Potting
This is where a lot of orchid parents mess up. Unlike many plants, orchids don’t grow in regular dirt; they’re epiphytes that live on trees in their natural habitat. So, if you’ve been planting your orchid in regular potting soil, it’s no wonder things are going downhill. Learning how to take care of an orchid plant means using the proper base.
- Use an Orchid-Specific Mix
A good mix should include:
- Bark chips (fir or pine)
- Sphagnum moss
- Perlite or charcoal for airflow
The mix lets air into the roots but still keeps some water. Your orchid doesn’t want its feet wet, but it does like a little humidity around them.
- Repotting 101
Once you figure out how to grow orchids in the house, using the right potting mix, your orchid’s health will transform.
- When to repot:
- Every 1–2 years When roots spill out of the pot
- When the bark breaks down into mush
- How to repot:
- Gently shake off the old mix
- Trim rotted or dead roots (black and mushy ones)
- Use a clear plastic pot (it helps monitor root health and moisture)
Feeding Your Orchid: Simple Tips for Healthy Growth
Now, how do you take care of an orchid plant when it comes to nutrients? Here’s the breakdown:
- During Active Growth (Spring and Summer)
- Use an orchid-specific fertilizer or a general one with a 20-20-20 formula, diluted to half strength.
- Feed once every two weeks or every month, depending on the label and your plant’s reaction.
- Bloom Boost Formula
When you want to encourage flowering, switch to a fertilizer that’s:
- Low in nitrogen
- High in phosphorus
This helps your plant shift from growing leaves and roots to producing flower spikes.
- During Dormancy (Fall and Winter)
This resting period is one of the most overlooked parts of how to grow orchids indoors successfully. Post-bloom, many orchids slow down and rest before their next growth cycle. They slow down, conserve energy, and get ready for their next bloom cycle.
What you can do:
- Stop or reduce feeding
- Allow them to rest so they can bounce back stronger
Don’t panic when:
- No new spikes appear right away
- Leaves stop growing
- The plant just sits there, doing nothing
Pruning and General Maintenance: Keep It Clean and Thriving
Good maintenance helps prevent disease and keeps your orchid plant photo-ready. This kind of attention is key if you’re learning how to raise orchids indoors as part of a routine, not just damage control.
- Trim dead flowers: Once blooms fall, cut back the spike just above a node (little bump) to possibly encourage a side shoot.
- Remove yellow leaves: Only when they naturally wilt. Never pull off healthy ones.
- Stake flower spikes: Gently support tall spikes with clips or stakes to keep them upright.
- Check regularly for pests: Orchids can get mealybugs, spider mites, or scale. Begin treatment early using neem oil or insecticidal soap.
Final Thoughts
Now that you’ve made it this far, you’re no longer just another nervous plant parent. You understand the full arc of how to grow orchids in the house, from light to watering, soil to fertilizer, and even that all-important rest period.
No need to be intimidated. Just follow the routine, learn the cues, and you’ll start to notice more than just buds. You’ll notice how rewarding your care is, and how peaceful a room feels with a living bloom in it.


Leave a Reply